March 25, 2024 • 7min read
Top 7 Tips for a Perfect Nighttime Wedding Photography
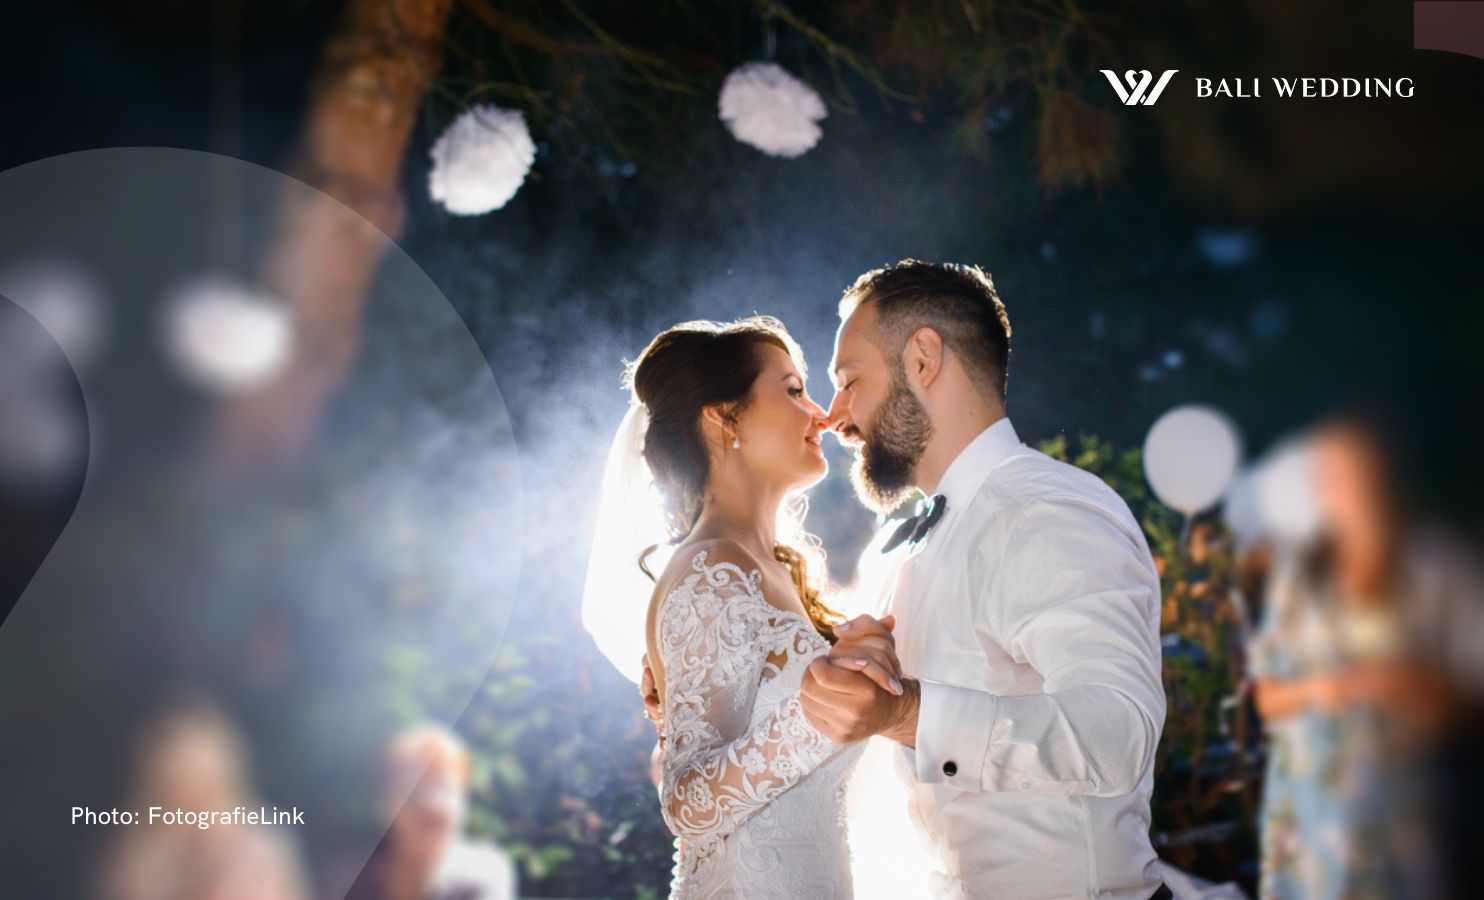
Most weddings nowadays include a few night shots. There are many good reasons why wedding photographers do it; if you are one, you should too.
Night photos at a wedding are quick, simple, and always impressive. But to do it right, you’ll need the right gear such as an off-camera flash and a radio trigger. But first of all, what’s a night shot? It’s a series of photos you take of the bride and groom that involves setting up an off-camera flash. A night shot is usually backlit or any different lighting conditions.
Why Should You Consider Shooting a Nighttime Wedding?
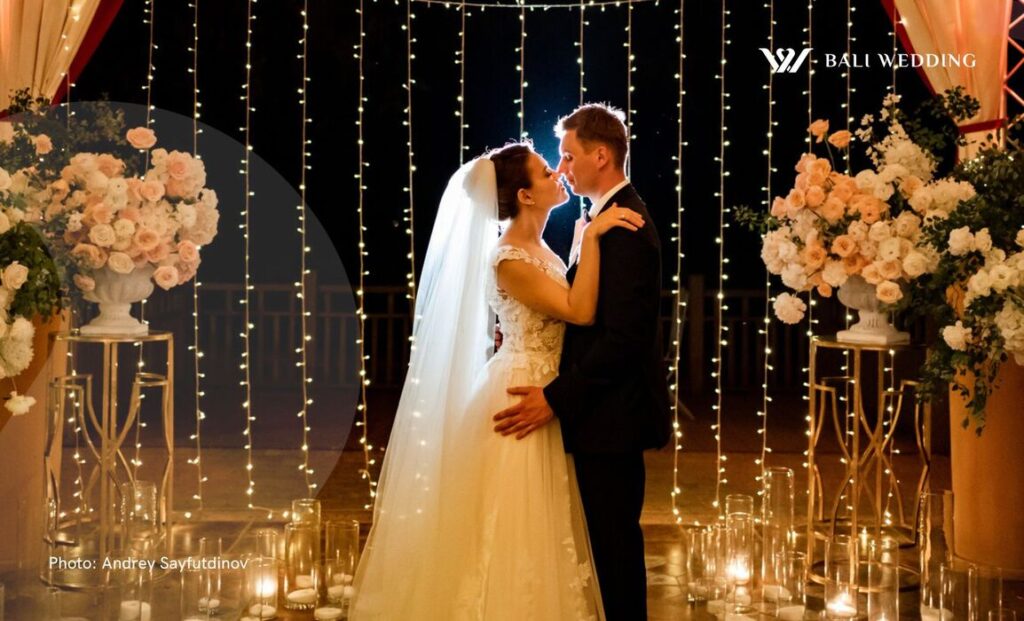
There are a couple of reasons why, and we’ve turned to the experts for their reasons. First off, it’s extremely valuable for your clients, and they will always appreciate it. All it takes is some knowledge about off-camera flash and the appropriate tools to knock their socks off.
A nighttime photo session allows the couple to take a quick break from the day. You can seek their permission for a quick night shot at some point earlier in the day. And most of the time, they will agree to do it.
How to Find a Good Location for a Night Wedding Photoshoot?
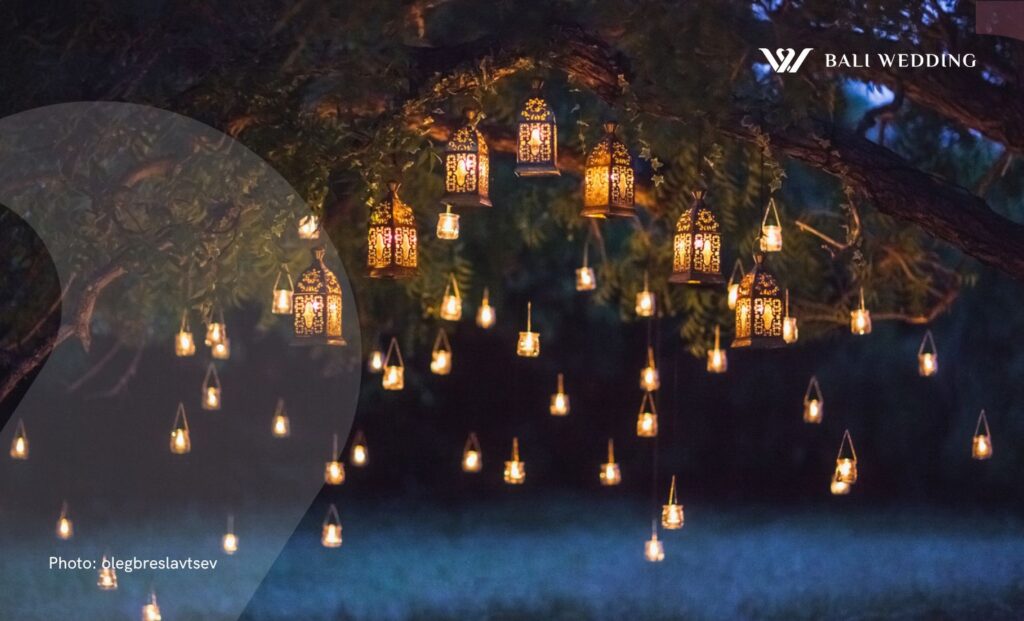
You can find a million different tips that will likely work and look great for a nighttime shot. However, one of the things that we always look for is frames that produce backlight. Trees, doorways, structures, tunnels or a building’s exterior will work just fine. If none of that works, the middle of the field should work just fine.
Looking for Professional Wedding Photography?
"(Required)" indicates required fields
"(Required)" indicates required fields
If you aren’t familiar with the wedding venue, you can try Googling the place and see if other photographers have found interesting places to shoot during the evening. You can also ask a staff member if they know some great locations at night. Then, it’s up to you to choose the appropriate lens, lighting, and poses to create the best shots!
What Should You Use to Light Your Shots?
Hopefully, you know at least a bit about off-camera flash, as you’ll need some type of flash. For the lighting setup, you can use a lightning stand or rest the flash on anything lying around, including your camera bag or a stump. Most of the time, anything behind the light will be in complete darkness, so anything will do. Set a wide beam and slightly tilt it up.
Set up the light and pick a medium to low power. This will take trial and error, so practice out there in the dark. Imagine where the couple will be standing and set up the light accordingly. Remember to bring some kind of flashlight, such as a little LED continuous light.
Frame the Shot
Your camera won’t be on autofocus, so remember to switch it over to manual focus. Manually focus the distance between you and the couple and take the shot. This will likely be entirely blown down, but that shouldn’t be a problem as you want to make sure that the flash triggers and have a look around your frame’s edges.
Is everything on the frame lighting up nicely? Do you need to switch up the settings? Up the ISO and flash power? Or perhaps changing the width of the beam from your flash? If your picture still looks rough, try covering the light with your fingers when looking through your camera. Again, this is something that will only work once you have real people, and you’ll be amazed at how well this little trick works.
The one struggle you’ll likely face is focusing on the couple due to the manual focus, but you can use a few tricks. Try maxing out your phone’s brightness and setting it so it won’t go to sleep. Then, you can get them to hold onto it at their chest level. This lets you focus on the light from the phone without bumping it. Then, try taking a series of pictures, and the results will likely be in focus.
The Best Camera Settings for a Nighttime Wedding
There are plenty of options to try out, depending on your setup and how dark it actually is. Experiment with different shutter speeds to make it seem darker than it is. Sometimes, you’ll need to set up a light 5 feet behind the couple when shooting from 30 feet away. Other times, you’ll need to set up a flash 50 feet behind them with an additional flash to lighten up the surroundings. Having a second flash is a bonus but isn’t always necessary.
Get Two Lenses
Have a second lens ready at all times. We like to start at a wide angle with 28mm while bringing a second or third lens if you have the time.
You and your lighting situation will need to stay put. Indeed, you’ll need to refocus, but you can get two looks from one spot.
Experiment with Posture
You’ll need to direct the poses for the bride and groom. Start with looking at each other, as this will make a beautiful silhouette shot. Avoid getting them to face you or the camera, as their faces will be in complete shadow, which won’t look pretty.
Get them to face each other and vary the distance. It depends on how much they’re covering up the light behind; sometimes, completely covering the light will work best; other times, you want a slight sliver of lining to poke out, creating a small lens flare, while other times, you’ll want a bit of light showing. You’ll be amazed at how moving a single inch dramatically changes the scene.
Conclusion – Wrap Up the Nighttime Wedding Photo Session
You may rarely show the back of the camera to the bride and groom on the big day. However, a night shot should be an exception as you’ve taken them away from the party to get the shot. They’ll love to see the shot and greatly praise you for it, especially when they turn out amazing, coming straight out from the camera before any editing. After showing them the final image, you’ll have their blessing and consider the job well done.
Related Articles
Bali Wedding Photographer: Best Pre-Wedding Locations & Poses
Top Wedding Photographers in Bali for Your Big Day
Have to decide how your dream wedding will look like?
Lorem ipsum dolor sit amet, consetetur sadipscing elitr.


